Your electrical panel is responsible for the safety of your home. Without a breaker box and circuit breakers, your home would risk various types of deadly electrical hazards such as electrical fires or electrocution. Thankfully most electrical panels offer excellent protection. However, there are a few older brands that do not.
Zinsco electrical panels have been obsolete for decades and are known to have failures. They can have problems with breakers failing to trip when overcurrent or short-circuit events occur. They can be highly dangerous, leading to potential fires or electrocution when they fail.
If the Zinsco breaker fails to trip, a short circuit or overcurrent could melt the breaker, fusing it to the bus bar and causing an electrical fire. Fortunately, this is a known issue that you can fix before a hazard occurs. To learn how to replace Zinsco breakers and panels, follow our detailed guide below.
How to replace a circuit breaker in a Zinsco panel?
Unfortunately, Zinsco breakers fail at a much higher rate than what is considered an acceptable margin of safety. For that reason, most electricians and industry experts consider Zinsco breakers unsafe and recommend a replacement immediately. Unfortunately, even if your Zinsco panel and breakers are working fine now, there is no telling when they might fail.
If you have Zinsco breakers, a licensed electrician should replace them. However, if you plan to replace a Zinsco breaker yourself, take extreme caution. Electricity is inherently dangerous, so be sure to take proper safety measures.
If you’re replacing the Zinsco electrical breakers, you’ll first need a retrofit kit. Eaton Corporation, Cutler-Hammer Products have patented Zinsco Sylvania Electrical Panel Retrofit Kits available. They replace the interior of the aging Zinsco panel.
The benefit of the retrofit kit is that you can re-use your existing electrical box and wiring, saving you time, money, and the additional expense of a completely new panel.
First, turn your panel entirely off before working on your electrical panel and get a battery-powered light source to illuminate your workspace.
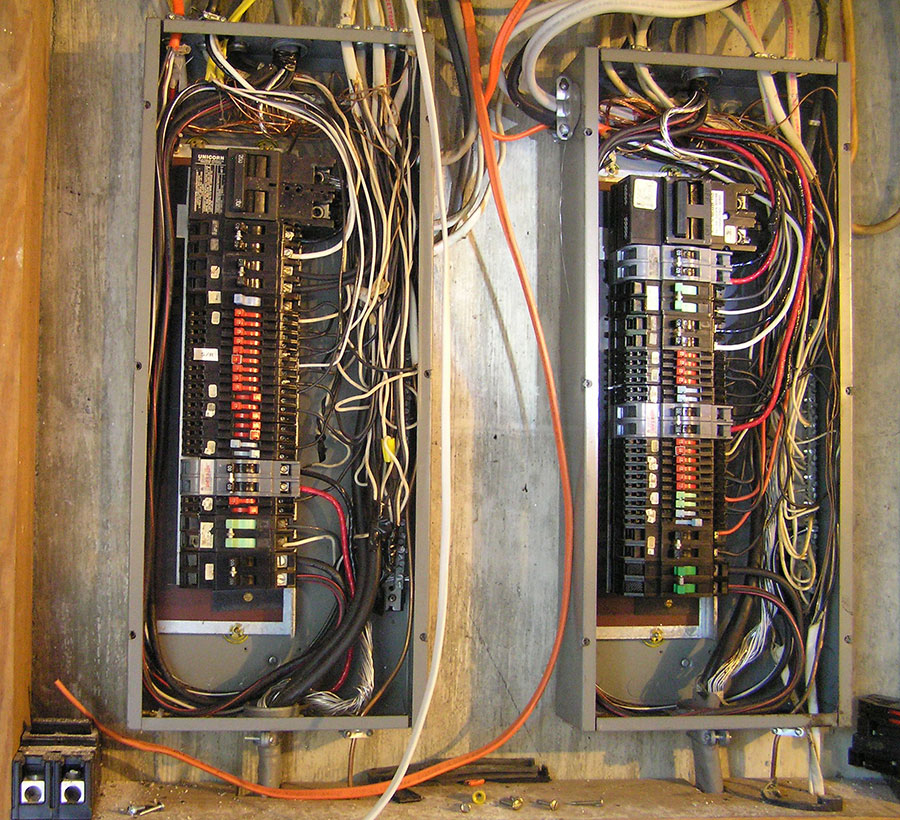
Next, disconnect the electrical circuit from the bus assembly circuit breakers (the existing load center). Mark the cables so you can easily remember what areas of your home they power.
Then, remove the old bus assembly, including the ground bus, neutral bus, and other internal components in the existing panel. At this point, the circuit wires should be undisturbed, and the enclosure should still be in place.
Inspect the electrical enclosure to verify it is in good shape. Then, mount the new load center, which includes the ground and neutral bus bars and the circuit breaker set and panel bus, into the panel box. Next, connect the new circuit breakers to the existing circuit wires, following proper wiring procedure and local electrical code.
The field-adjustable retrofit kit assembly includes an interior bus assembly, neutral assembly, ground bar assembly, and an adjustable riser. It also contains a new panel front that fits the new bus, which mounts into the original panel box.
Once the retrofit upgrade is complete, you’ll have the original panel box with all new internal components. All of the guts, including the Zinsco breakers and buses, have been replaced.
Zinsco retrofit installation step-by-step
Here is how you install the retrofit kit step-by-step. As always, follow all necessary safety procedures. If you are not sure what you are doing and have concerns, consider hiring an electrician to do this job for you.
- Inspect the existing panel and ensure it is in good shape. If your old Zinsco enclosure is bent, rusted, and has other damage, it is best to replace the entire enclosure. If you need to replace the whole panel, see below.
- Purchase an electrical load center that fits into your existing electrical box. Ensure you select the correct size by carefully measuring the length, height, and depth. If your current panel enclosure is too shallow for the retrofit kit, you will need to buy a frame extension and possibly a new door and panel cover.
- Make sure your power is off before disconnecting the bus assembly on your current electrical box. Take out the load center by unscrewing each circuit first, rather than snipping the wires off. This way, you will have ample wire length to work with later.
- Remove the load center from the electrical panel.
- If there are any remaining openings and knockouts, cover them with metal to make the enclosure fire-resistant.
- Mount the new electrical panel bus (load center) to the old panel box.
- Connect your existing circuits to the circuit breakers in the new load circuit. Make sure you wire everything correctly and securely before proceeding to the next step.
- Install additional parts as needed, such as a frame extension, cover, panel door, etc.
- Once everything is reconnected and put back together, restore power to the electrical box, and turn the breakers on one at a time to spot any tripping issues.
Are Zinsco panels dangerous? Should you replace the panel itself?
If a Zinsco electrical panel is in good condition, it is not dangerous. However, in cases where the Zinsco panels are in questionable condition, they can be hazardous, and you should replace them even if there is only a “small” problem.
If your Zinsco panel has rust, holes, dents, and other damage, you should replace the panel completely. If you don’t have experience replacing electrical panels and circuit breakers, hire a licensed electrician to do it for you.
Zinsco components inside the panel are dangerous.
The Zinsco panel box itself may not be dangerous, but the internal components of the Zinsco panel certainly are.
Here’s why:
Before the 1940s, all Zinsco panels had copper bus bars. However, because of the increased demand for copper during WWII and the Korean War, shortages occurred. Due to these shortages, the National Electrical Code (NEC) changed its code and allowed the use of aluminum in the manufacturing of electrical breakers and panels.
While some electrical component manufacturers chose to continue using copper, Zinsco did not. Instead, they started using a specific type of aluminum that was later prone to electrical oxidation. When the aluminum becomes oxidized, it acts as an insulator instead of a conductor. Unfortunately for Zinsco and its consumers, this effect leads to electrical fires and burn-outs.
This design flaw leads to the various reasons why Zinsco components are dangerous:
- Their bus bars quickly corrode.
- The breakers may “fail on,” appearing to be off while still allowing the current flow.
- Zinsco’s old circuit breakers and bus bars don’t pass the UL requirements of today.
- Some old breakers could be set up as a two-wire system, leaving it ungrounded.
- The breakers could melt and fuse to the panel’s bus bar, preventing the breaker from tripping. This can lead to overheating, further melting, and electrical fire.
- The circuit breakers may have a poor connection to the bus bar. This could result in arcing, leading to high temperatures and electrical fire.
- The aluminum is of poor quality and acts as an insulator, preventing the flow of current.
How much does a Zinsco panel replacement cost?
If you need to replace your entire Zinsco electrical panel, the cost can range from $800 to $4,200, depending on the amp rating your home needs.
Here’s the average pricing of electrical panels depending on amps:
- 100 amps – $800 to $1,200
- 200 amps – $1,300 to $2,600
- 400 amps – $2,300 to $4,200
This does not include the installation costs, which you will have to pay if you hire an electrician. Additionally, the panel and installation cost will vary depending on where you live in the United States.
How to replace a Zinsco electrical panel?
If you have a Zinsco Electrical panel in your home, most electricians and industry experts recommend replacing the entire panel instead of completing a retrofit.
Generally, they recommend the complete replacement because it is less labor-intensive and gets rid of the old panel. In addition, even if the box is in good condition now, it is likely already decades old. This means it already had plenty of time to age and oxidize and be more susceptible to rusting and corrosion in the future.
The steps to replace a Zinsco panel are the same as replacing any other electrical panel.
Here’s how to replace one:
First and foremost, use caution. Replacing an electrical breaker panel is a complex procedure. Additionally, most areas require a permit. Without a professional electrical contractor license, your locality may not grant you a permit. Plus, without having the necessary skills to complete the job, you may struggle to complete this arduous and potentially dangerous task.
Panel Replacement Steps
- Determine how much power you need. The amount of power you need will depend on the current (amp) draw of all your appliances and electronics combined. If the rating on your panel was sufficient for your home, stick with that number. However, you may decide to upgrade your 100 amp panel to a 200 amp model, depending on future electrical needs
- Choose the right panel for your home. Knowing the kWh total you need will help determine the best size panel and balance the load.
- Next, add up the power consumption of all your electronic devices and any you plan to add in the future (like an electric car charger in the garage). If you need help, consult an electrician for a recommendation.
- Choose a type of breaker. You can choose from three main types of breakers: standard, GFCI, and AFCI breaker. GFCI breakers prevent shock hazards from electrical devices coming in contact with water. AFCI breakers detect arc faults, which happen from damaged wires and grounding. Both GFCI and AFCI prevent electrocution and fire hazards. Here’s how to identify these three types of breakers.
- Switch off the main breaker before disconnecting the old panel, remove the cover, and disconnect the wires.
- Once you have completely removed the existing panel, you can install the new panel, modifying the wall opening as needed.
- Install the new breakers into the new electrical panel and connect the original circuit wires to the breakers. If the wires are not long enough, add extensions as necessary.
- When placing and writing the new circuit breakers, ensure the 120-volt distribution is balanced between the two bus bars.
- Once everything is installed and complete, ensure all your breakers in the new panel are off before restoring the main power. Then, turn each breaker on one at a time to ensure all circuits are working correctly.
How to know if you have a Zinsco panel
Zinsco panels and breakers have a long and storied history. Their products have undergone many rebrands throughout their years and are sometimes hard to identify.
If you are not familiar with the Zinsco brand and spot their electrical panels and breakers, the identification methods below might help.
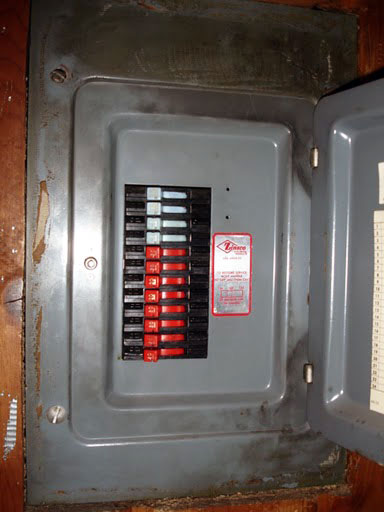
- Zinsco label identification – Zinsco labels are blue and white, green and white, red, or blue and silver. They may or may not have a label with the “Zinsco” name.
- Magnatrip label identification – Your Zinsco breaker or panel box might have an embossed “Magnatrip” logo on it. Magnatrip was a brand name Zinsco produced in the 1940s to the 1970s.
- UL label identification – Zinsco products have a yellow on black UL (Underwriters Laboratory) label
- Color coding identification – many Zinsco breakers don’t have any of the identifiable markers listed above. However, some are color-coded, while others are just solid black. Here are what the colors represent:
- Blue – 15 Amp
- Red or orange – 20 Amp
- Light blue or green – 30 Amp
- Light brown or grey – 40 Amp
- Black* – 50 Amp (*Note: all amp ratings could be black)
- White – 60 Amp
- Design elements identification – Zinsco breakers share a common physical design element, a thick unit with a deep-slotted connection opening that goes over the bus bar.
Wrap Up
Zinsco panels and components have known failure modes and quality issues that make them dangerous to keep in your home. Zinsco switched from using copper to using a unique form of aluminum in their products decades ago. They did not know it at the time, but the aluminum is of poor quality and will become oxidized.
The oxidation of the aluminum, along with other quality issues, presents the possibility of various failures that could lead to excessive heat and fires. While the panel enclosures are not dangerous (unless they have rust and damage), the internal components are unsafe.
If you have a Zinsco electrical panel, you should replace the load center, breakers, and other components to ensure the safety of your home. Alternatively, you can replace the entire electrical box instead.
As always, if you are unsure about any of the steps involved, consult with a local certified electrician to ensure your home’s electrical system is in safe working order.